Mobbing
Solo


 Melee Weapon Fire ATK
Melee Weapon ATK
Melee Weapon ATK
Melee Weapon ATK
Melee Weapon ATK
Melee Weapon Fire ATK
Additional Attack Chance
Additional Attack Damage
Melee Weapon Fire ATK
Melee Weapon Fire ATK
Melee Weapon ATK
Melee Weapon ATK
Melee Weapon ATK
Melee Weapon ATK
Melee Weapon Fire ATK
Additional Attack Chance
Additional Attack Damage
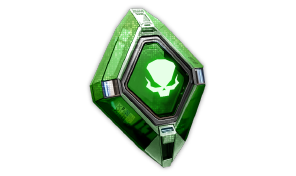
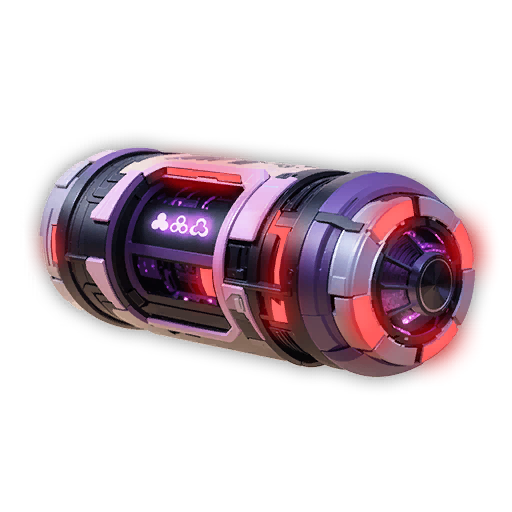

 Max HP
DEF
Max HP
Fire Resistance
Max HP
DEF
Max HP
Fire Resistance
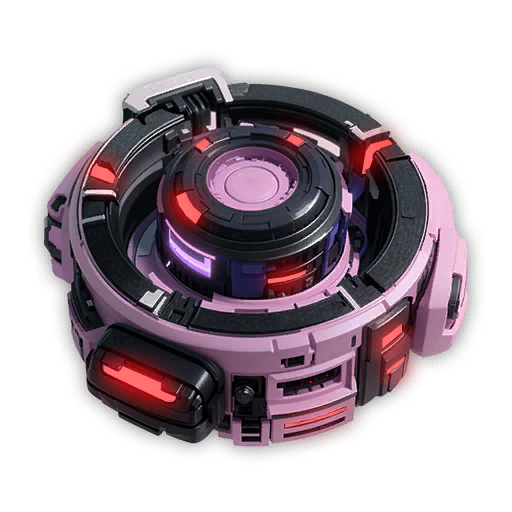 Max HP
DEF
Max MP
Shield Recovery Out of Combat
Max HP
DEF
Max MP
Shield Recovery Out of Combat
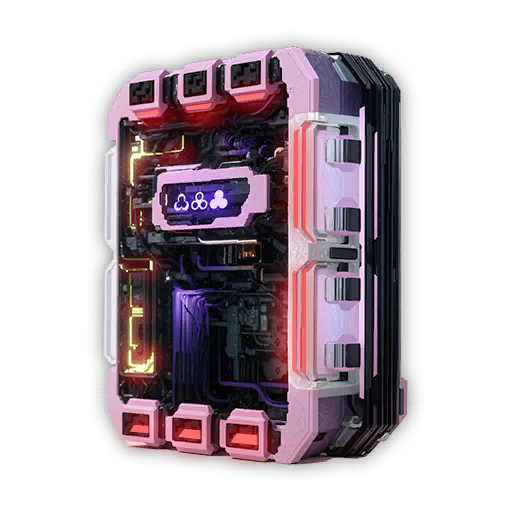 Max HP
DEF
DEF
Shield Recovery In Combat
Max HP
DEF
DEF
Shield Recovery In Combat
 Max HP
DEF
Max Shield
Shield Recovery Modifier
Max HP
DEF
Max Shield
Shield Recovery Modifier

 1
1
1
1
1
1
1
1
1
1
 1
1
1
1
1
1
1
1
1
1
1
1
1
1
1
1
1
1
1
1
1
1
1
1
 1
1
5
1
1
1
1
5
1
1
 1
1
1
1
 1
1
1
1
1
1
1
1
 5
1
5
1
 1
1
1
1
1
1
1
1
1
1
1
1
1
1
1
1
1
1
 1
1
1
1
1
1
1
1
1
1
1
1
1
1
 1
1
1
1
1
1
1
1
1
1
 1
1
1
1
 1
1
 1
1
1
1
1
1
1
1
1
1
1
1
1
1
1
1
1
1
1
1
1
1
1
1
1
1
1
1
1
1
1
1
1
1
1
1
1
1
1
1
 1
1
1
1
1
1
1
1
1
1
1
1
1
1
1
1
1
1
1
1
 1
1
1
1
1
1
 1
1
1
1
1
1
1
1
1
1
1
1
1
1
1
1
1
1
 5
1
1
5
1
1
 1
1
1
1
1
1
1
1
 1
1
1
1
1
1
1
1
1
1
1
1
 5
1
5
1
 1
1
1
1
 1
1
1
1
 1
1
1
1
 1
1
1
1
 1
1
1
1
1
1
1
1
1
1
1
1
 1
1
1
1
1
1
1
1
1
1
1
1
1
1
1
1
1
1
1
1
1
1
1
1
1
1
1
1
 1
1
1
1
1
1
 1
1
1
1
 1
1
1
1
1
1
 1
1
1
1
1
1
 1
1
1
1
1
1
 1
1
1
1
1
1
1
1
1
1
1
1
1
1
1
1
1
1
 1
1
1
1
1
1
1
1
1
1
1
1
1
1
1
1
1
1
1
1
 1
1
 1
1
1
1
1
1
1
1
 5
1
1
1
1
1
1
1
1
5
1
1
1
1
1
1
1
1
1
1
1
1
1
1
1
1
1
1
1
5
1
1
1
1
1
1
1
1
5
1
1
1
1
1
1
1
1
1
1
1
1
1
1
1
1
1
1
1
 Xantic:

























Try to get as close to 50k Shield as possible.
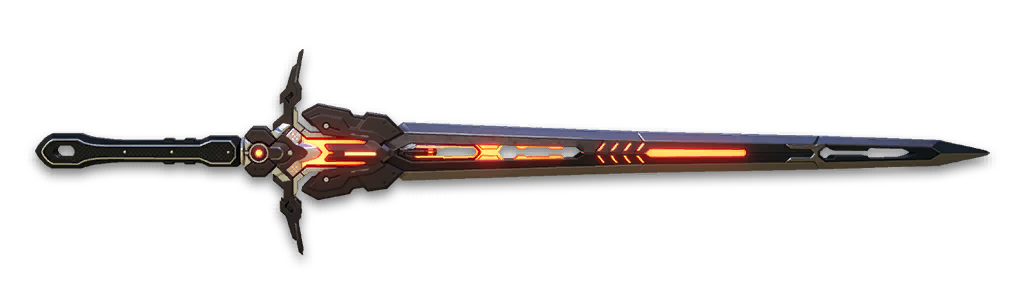
Any sword works on this build, its pretty much just preference of what you like to play with.





By Alcast | Last Updated: 4 months ago


By Alcast | Last Updated: 2 months ago

By Alcast | Last Updated: 4 months ago


By Alcast | Last Updated: 8 months ago