

Loadout 1
Primary Setup
Descendant
Descendant & Trigger Module







Descendant Modules
Skill, Sub and general Modules


















Stats for
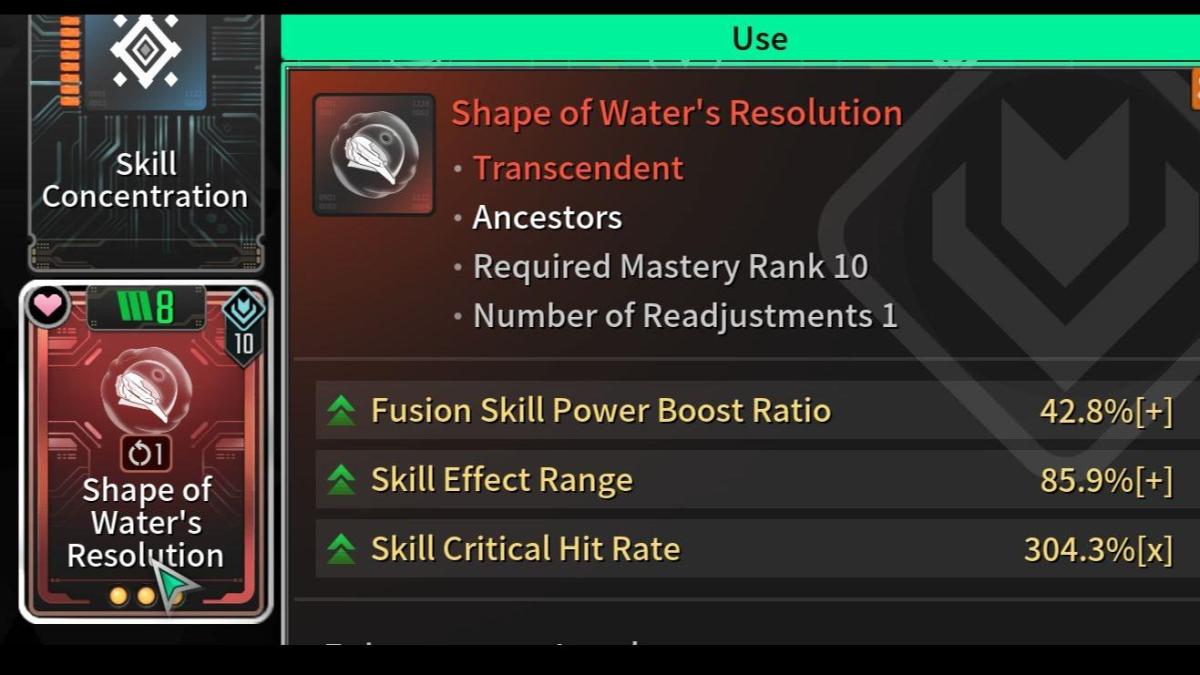
Shape of Water's Resolution
Skill Critical Hit Damage
Skill Critical Hit Rate
Skill Effect Range
Max Shield
Weapons
All weapon loadouts for this setup
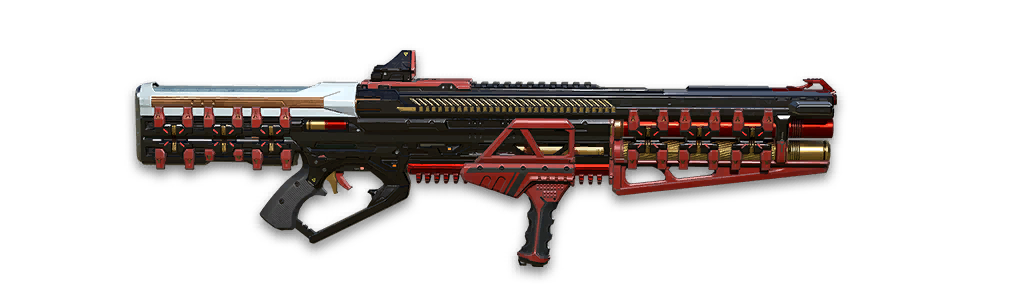

Hammer and Anvil
Shotgun


Lvl 100
Sprint Speed
Grappling Hook Charge Time Increase Ratio
Additional Weapon ATK (vs. Legion of Darkness)
Electric ATK
Fire Rate
Electric ATK
Additional Weapon ATK (vs. Legion of Darkness)
Multi-Hit Chance
Multi-Hit Damage











Reactor & External Components
Reactor, External Components and Item sets
Materialized Mixture Reactor
Reactor
Fusion Skill Power Boost Ratio
Skill Critical Hit Damage
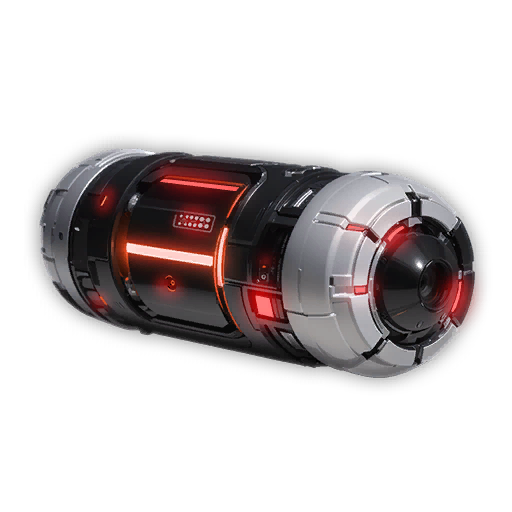
Slayer Auxiliary Power
Auxiliary Power


Slayer
Max HP
DEF
Max HP
MP Recovery Out of Combat

Slayer Sensor
Sensor
Slayer
Max HP
DEF
Max MP
MP Recovery In Combat

Slayer Memory
Memory
Slayer
Max HP
DEF
DEF
MP Recovery Modifier

Slayer Processor
Processor
Slayer
Max HP
DEF
Max Shield
Toxin Resistance
Active Sets
Slayer
4/4
- General Rounds Capacity 8%[+]
- Rounds per Magazine 9%[x] Skill Cost 15%[+] Base Skill Power boost ratio 26.1%[+] When defeating enemies inflicted with Towed, recovers MP and Specialized Resource by 17% at a 12.2% chance
Arche tuning
Selected nodes & Mutant Cells

 1
1
1
1
1
1
1
1
1
1
 1
1
1
1
1
1
1
1
1
1
1
1
1
1
1
1
1
1
1
1
1
1
1
1
 1
1
5
1
1
1
1
5
1
1
 1
1
1
1
 1
1
1
1
1
1
1
1
 5
1
5
1
 1
1
1
1
1
1
1
1
1
1
1
1
1
1
1
1
1
1
 1
1
1
1
1
1
1
1
1
1
1
1
1
1
 1
1
1
1
1
1
1
1
1
1
 1
1
1
1
 1
1
 1
1
1
1
1
1
1
1
1
1
1
1
1
1
1
1
1
1
1
1
1
1
1
1
1
1
1
1
1
1
1
1
1
1
1
1
1
1
1
1
 1
1
1
1
1
1
1
1
 1
1
1
1
1
1
 1
1
1
1
1
1
 1
1
1
1
1
1
 1
1
1
1
1
1
1
1
1
1
1
1
1
1
1
1
1
1
 5
1
1
5
1
1
 1
1
1
1
1
1
1
1
 1
1
1
1
1
1
1
1
1
1
1
1
 5
1
5
1
 1
1
1
1
 1
1
1
1
 1
1
1
1
 1
1
1
1
 1
1
1
1
1
1
1
1
1
1
1
1
 1
1
1
1
1
1
1
1
1
1
1
1
1
1
1
1
1
1
1
1
1
1
1
1
1
1
1
1
 1
1
1
1
1
1
 1
1
1
1
 1
1
1
1
1
1
 1
1
1
1
1
1
 1
1
1
1
1
1
 1
1
1
1
1
1
1
1
1
1
1
1
1
1
1
1
1
1
 1
1
1
1
1
1
1
1
1
1
1
1
1
1
1
1
1
1
1
1
 1
1
 1
1
1
1
1
1
1
1
 5
1
1
1
1
1
1
1
1
5
1
1
1
1
1
1
1
1
1
1
1
1
1
1
1
1
1
1
1
5
1
1
1
1
1
1
1
1
5
1
1
1
1
1
1
1
1
1
1
1
1
1
1
1
1
1
1
1
Mutant Cells
 Malachite:
Inversion Reinforcement
The best skills of this season
Hunting






Elemental





Recovery





Survival





Season





Misc
Fellow & Vehicle


Guide
How to play this build
Activate 3rd skill and start shooting with Hammer and Anvil 2nd mode (Firecrackers). Roll and Grapple for more mobility. Activate 1 from time to time and try to stay in water for extra buffs.
For Ancestor, make sure to run Skill Critical Hit Rate and Skill Critical Hit Damage.
Screenshots
This build in action
Updated

Build by
Alcast
Alcast is a veteran gamer with over 15 years of experience in MMORPGs, RPGs, and online games. Best known for his expert Elder Scrolls Online builds, he runs popular gaming platforms including Alcasthq.com, ESO-Hub.com, and Gameslantern.com, where he shares guides, tools, and updates for fellow gamers.


Other builds by Alcast


Serena Godmode Build
By Alcast | Last Updated: 4 months ago
11


Fastest Bunny Build for 400% Dungeon Farming - Infinite Sustain
By Alcast | Last Updated: 2 months ago
11


Freyna Forbidden Sanctuary Venom Injection Build
By Alcast | Last Updated: 4 months ago
8


Dia Godmode Build Mobbing & Bossing
By Alcast | Last Updated: 8 months ago
7