

Loadout 1
Setup
Descendant
Descendant & Trigger Module






Descendant Modules
Skill, Sub and general Modules

















Stats for
Delightful Resolution
Skill Critical Hit Rate
Skill Cooldown
Skill Critical Hit Damage
Max Shield
Weapons
All weapon loadouts for this setup
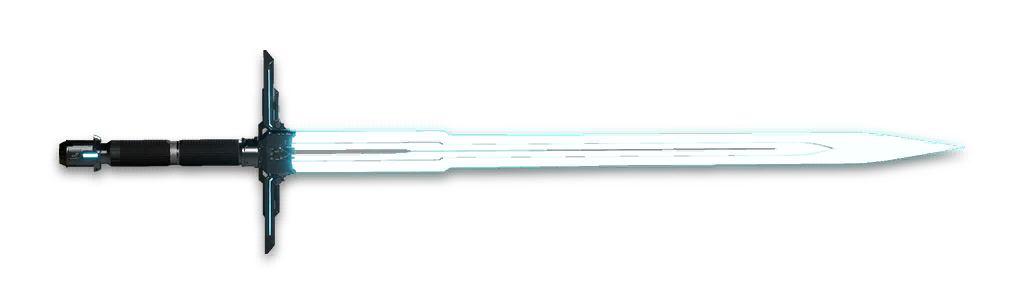

Hypernova
Balanced Melee Weapon


 Melee Weapon ATK
Melee Weapon Chill ATK
Melee Weapon Chill ATK
Melee Weapon Critical Hit Rate
Melee Weapon Critical Hit Damage
Melee Weapon ATK
Melee Weapon Chill ATK
Melee Weapon Critical Hit Damage
Melee Weapon Critical Hit Rate
Melee Weapon ATK
Melee Weapon Chill ATK
Melee Weapon Chill ATK
Melee Weapon Critical Hit Rate
Melee Weapon Critical Hit Damage
Melee Weapon ATK
Melee Weapon Chill ATK
Melee Weapon Critical Hit Damage
Melee Weapon Critical Hit Rate











Reactor & External Components
Reactor, External Components and Item sets

Frozen Mixture Reactor
Reactor
Skill Cooldown
Skill Critical Hit Damage
Bravery Auxiliary Power
Auxiliary Power


Bravery
Max HP
DEF
Max HP
MP Recovery Out of Combat
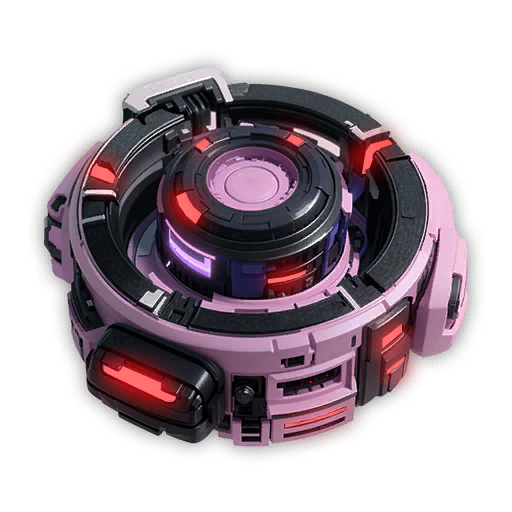
Bravery Sensor
Sensor
Bravery
Max HP
DEF
Max MP
MP Recovery In Combat
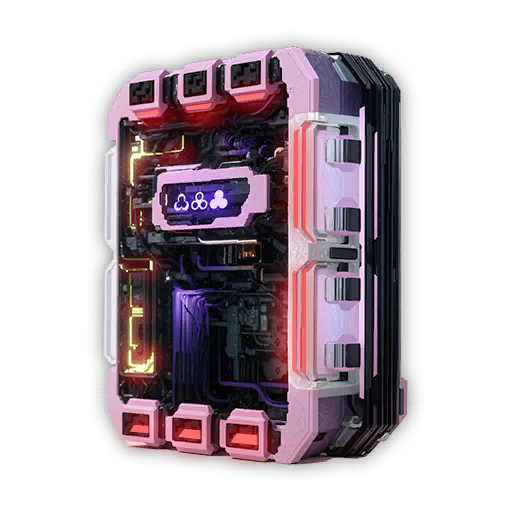
Bravery Memory
Memory
Bravery
Max HP
DEF
DEF
MP Recovery Modifier
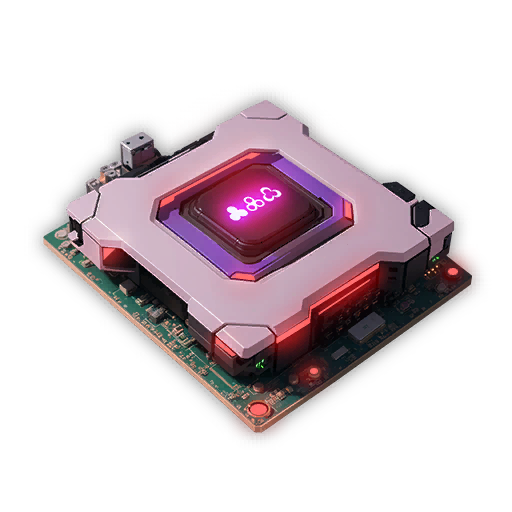
Bravery Processor
Processor
Bravery
Max HP
DEF
Max Shield
Shield Recovery Modifier
Active Sets
Bravery
4/4
- Max Shield 11.8%[x]
- Skill Cost -5.7%[+] 20% chance to reduce a random skill's cooldown by -1s each time an enemy is defeated
Arche tuning
Selected nodes & Mutant Cells

 1
1
1
1
1
1
1
1
1
1
 1
1
1
1
1
1
1
1
1
1
1
1
1
1
1
1
1
1
1
1
1
1
1
1
 1
1
5
1
1
1
1
5
1
1
 1
1
1
1
 1
1
1
1
1
1
1
1
 5
1
5
1
 1
1
1
1
1
1
1
1
1
1
1
1
1
1
1
1
1
1
 1
1
1
1
1
1
1
1
1
1
1
1
1
1
 1
1
1
1
1
1
1
1
1
1
 1
1
1
1
 1
1
 1
1
1
1
1
1
1
1
1
1
1
1
1
1
1
1
1
1
1
1
1
1
1
1
1
1
1
1
1
1
1
1
1
1
1
1
1
1
1
1
 1
1
1
1
1
1
1
1
1
1
1
1
1
1
1
1
1
1
1
1
 1
1
1
1
1
1
 1
1
1
1
1
1
1
1
1
1
1
1
1
1
1
1
1
1
 5
1
1
5
1
1
 1
1
1
1
1
1
1
1
 1
1
1
1
1
1
1
1
1
1
1
1
 5
1
5
1
 1
1
1
1
 1
1
1
1
 1
1
1
1
 1
1
1
1
 1
1
1
1
1
1
1
1
1
1
1
1
 1
1
1
1
1
1
1
1
1
1
1
1
1
1
1
1
1
1
1
1
1
1
1
1
1
1
1
1
 1
1
1
1
1
1
 1
1
1
1
 1
1
1
1
1
1
 1
1
1
1
1
1
 1
1
1
1
1
1
 1
1
1
1
1
1
1
1
1
1
1
1
1
1
1
1
1
1
 1
1
1
1
1
1
1
1
1
1
1
1
1
1
1
1
1
1
1
1
 1
1
 1
1
1
1
1
1
1
1
 5
1
1
1
1
1
1
1
1
5
1
1
1
1
1
1
1
1
1
1
1
1
1
1
1
1
1
1
1
5
1
1
1
1
1
1
1
1
5
1
1
1
1
1
1
1
1
1
1
1
1
1
1
1
1
1
1
1
Mutant Cells
 Malachite:
 Cerulean:
Inversion Reinforcement
The best skills of this season
Hunting






Elemental





Recovery





Survival





Season





Misc
Fellow & Vehicle


Guide
How to play this build
The Hypernova sword is a must-have. It pulls enemies together and you must use the Veil Analyzer Mod on it to easily destroy enemy shields.
Updated

Build by
Alcast
Alcast is a veteran gamer with over 15 years of experience in MMORPGs, RPGs, and online games. Best known for his expert Elder Scrolls Online builds, he runs popular gaming platforms including Alcasthq.com, ESO-Hub.com, and Gameslantern.com, where he shares guides, tools, and updates for fellow gamers.


Other builds by Alcast

Fastest Bunny Build for 400% Dungeon Farming - Infinite Sustain
By Alcast | Last Updated: 1 month ago
11
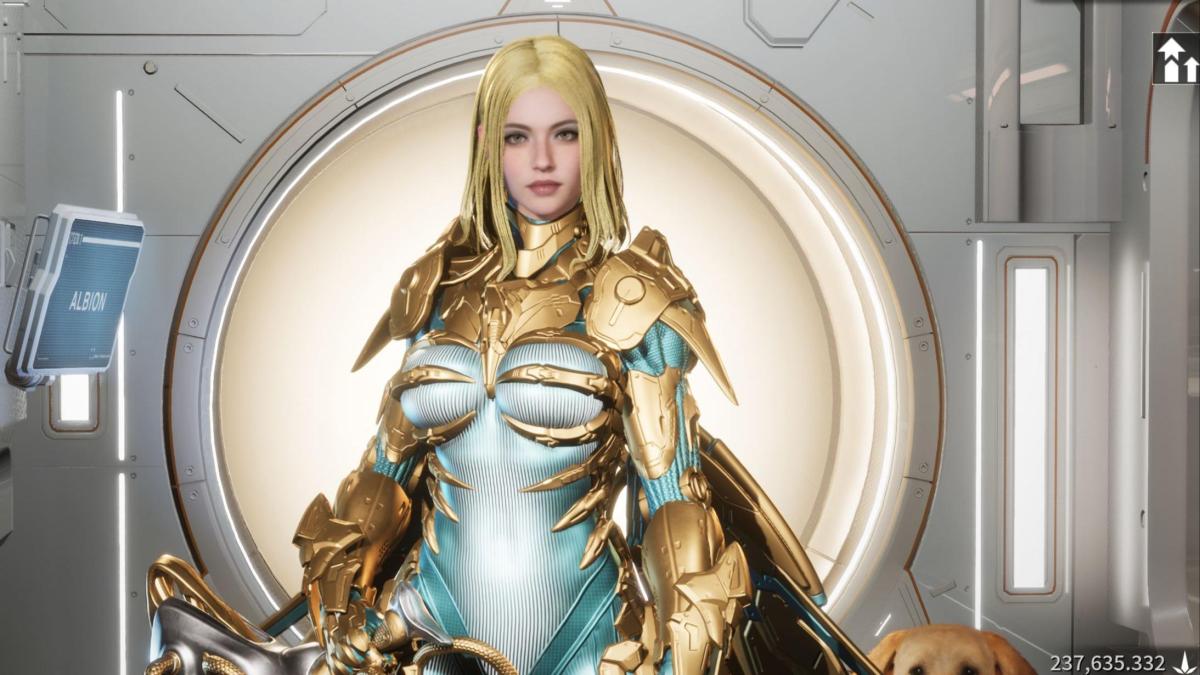

Serena Godmode Build
By Alcast | Last Updated: 2 months ago
10
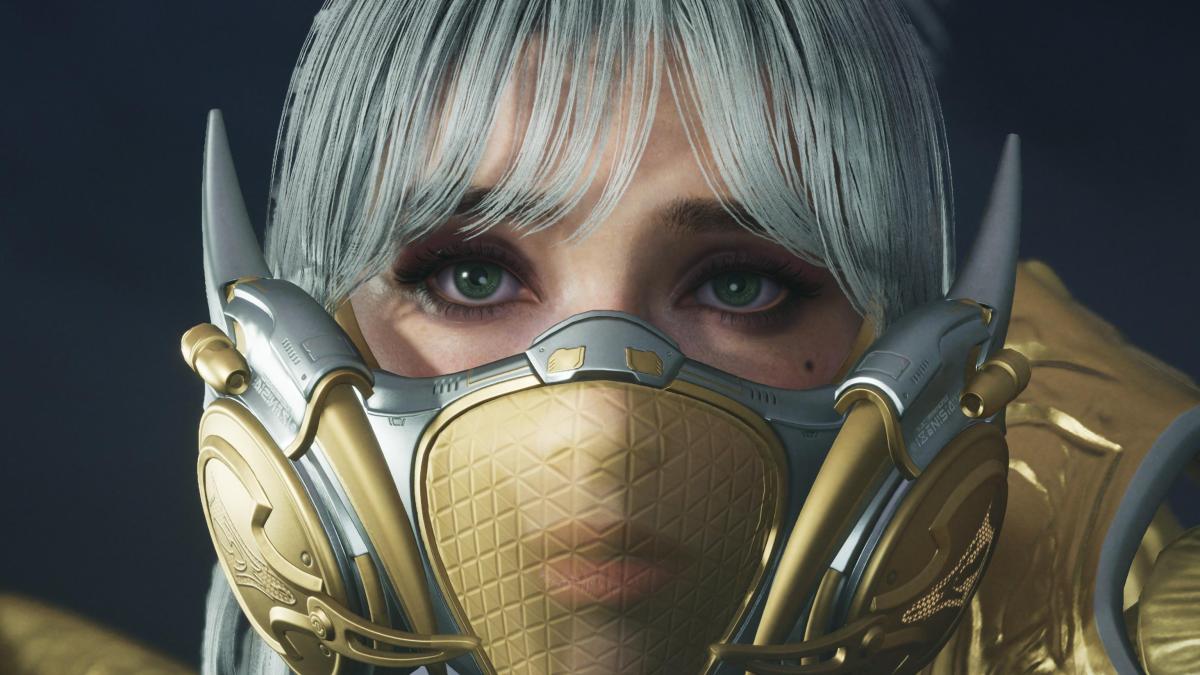
Freyna Forbidden Sanctuary Venom Injection Build
By Alcast | Last Updated: 2 months ago
8


Dia Godmode Build Mobbing & Bossing
By Alcast | Last Updated: 7 months ago
7