General
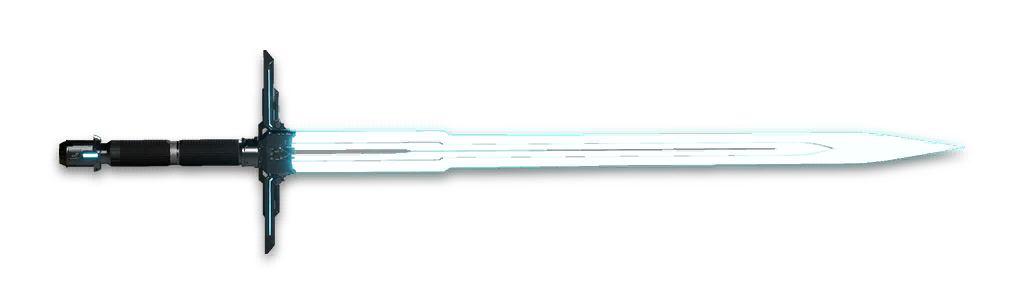


 Melee Weapon ATK
Melee Weapon Chill ATK
Melee Weapon Chill ATK
Melee Weapon Critical Hit Rate
Melee Weapon Critical Hit Damage
Melee Weapon Critical Hit Rate
Melee Weapon Critical Hit Damage
Melee Weapon Chill ATK
Melee Weapon ATK
Melee Weapon ATK
Melee Weapon Chill ATK
Melee Weapon Chill ATK
Melee Weapon Critical Hit Rate
Melee Weapon Critical Hit Damage
Melee Weapon Critical Hit Rate
Melee Weapon Critical Hit Damage
Melee Weapon Chill ATK
Melee Weapon ATK
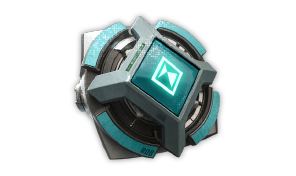
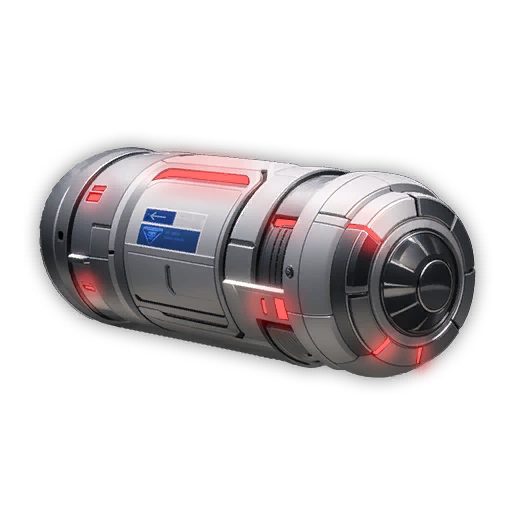

 Max HP
DEF
Max HP
Fire Resistance
Max HP
DEF
Max HP
Fire Resistance
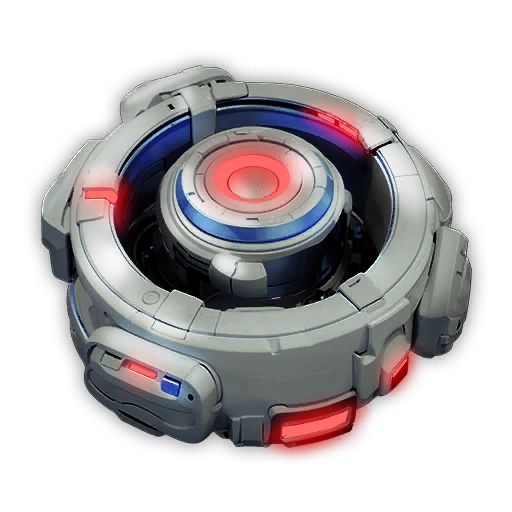 Max HP
DEF
Chill Resistance
Consumable Drop Rate Increase Modifier
Max HP
DEF
Chill Resistance
Consumable Drop Rate Increase Modifier
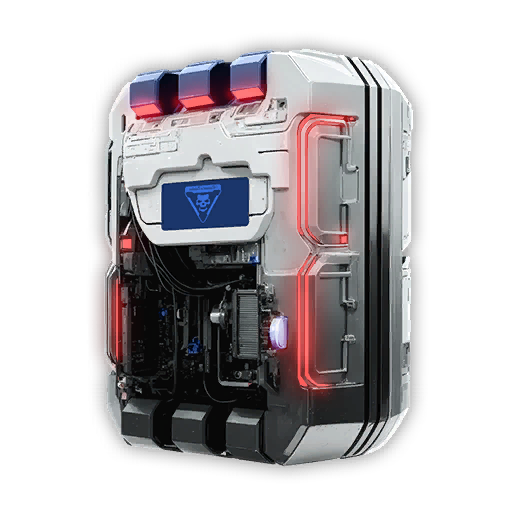 Max HP
DEF
DEF
Electric Resistance
Max HP
DEF
DEF
Electric Resistance
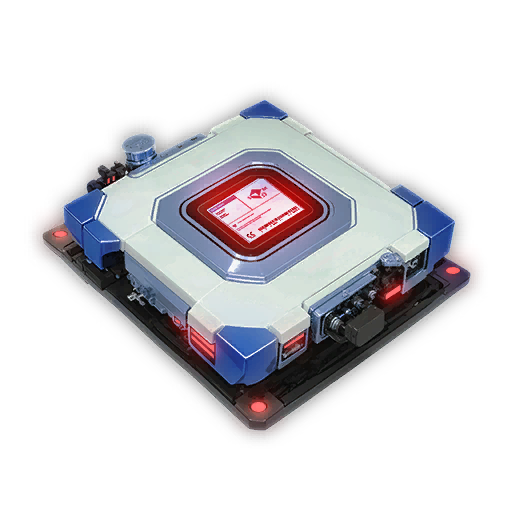 Max HP
DEF
Max Shield
Toxin Resistance
Max HP
DEF
Max Shield
Toxin Resistance

 1
1
1
1
1
1
1
1
1
1
 1
1
1
1
1
1
1
1
1
1
1
1
1
1
1
1
1
1
1
1
1
1
1
1
 1
1
5
1
1
1
1
5
1
1
 1
1
1
1
 1
1
1
1
1
1
1
1
 5
1
5
1
 1
1
1
1
1
1
1
1
1
1
1
1
1
1
1
1
1
1
 1
1
1
1
1
1
1
1
1
1
1
1
1
1
 1
1
1
1
1
1
1
1
1
1
 1
1
1
1
 1
1
 1
1
1
1
1
1
1
1
1
1
1
1
1
1
1
1
1
1
1
1
1
1
1
1
1
1
1
1
1
1
1
1
1
1
1
1
1
1
1
1
 1
1
1
1
1
1
1
1
1
1
1
1
1
1
1
1
1
1
1
1
 1
1
1
1
1
1
 1
1
1
1
1
1
1
1
1
1
1
1
1
1
1
1
1
1
 5
1
1
5
1
1
 1
1
1
1
1
1
1
1
 1
1
1
1
1
1
1
1
1
1
1
1
 5
1
5
1
 1
1
1
1
 1
1
1
1
 1
1
1
1
 1
1
1
1
 1
1
1
1
1
1
1
1
1
1
1
1
 1
1
1
1
1
1
1
1
1
1
1
1
1
1
1
1
1
1
1
1
1
1
1
1
1
1
1
1
 1
1
1
1
1
1
 1
1
1
1
 1
1
1
1
1
1
 1
1
1
1
1
1
 1
1
1
1
1
1
 1
1
1
1
1
1
1
1
1
1
1
1
1
1
1
1
1
1
 1
1
1
1
1
1
1
1
1
1
1
1
1
1
1
1
1
1
1
1
 1
1
 1
1
1
1
1
1
1
1
 5
1
1
1
1
1
1
1
1
5
1
1
1
1
1
1
1
1
1
1
1
1
1
1
1
1
1
1
1
5
1
1
1
1
1
1
1
1
5
1
1
1
1
1
1
1
1
1
1
1
1
1
1
1
1
1
1
1
 Malachite:
 Cerulean:

























 Melee Weapon ATK
Melee Weapon Chill ATK
Melee Weapon Chill ATK
Melee Weapon Critical Hit Rate
Melee Weapon Critical Hit Damage
Melee Weapon Critical Hit Rate
Melee Weapon Critical Hit Damage
Melee Weapon Chill ATK
Melee Weapon ATK
Max HP
DEF
Max HP
Fire Resistance
Max HP
DEF
Chill Resistance
Consumable Drop Rate Increase Modifier
Max HP
DEF
DEF
Electric Resistance
Max HP
DEF
Max Shield
Toxin Resistance
1
1
1
1
1
1
1
1
1
1
1
1
1
1
1
1
1
1
1
5
1
1
1
1
1
1
1
1
5
1
1
1
1
1
1
1
1
1
1
1
1
1
1
1
1
1
1
1
1
1
1
1
1
1
1
1
1
1
1
1
1
1
1
1
1
1
1
1
1
1
1
1
1
1
1
1
1
1
1
1
1
1
1
1
1
1
1
1
1
1
1
1
1
1
1
1
5
1
1
1
1
1
1
1
1
1
1
1
1
5
1
1
1
1
1
1
1
1
1
1
1
1
1
1
1
1
1
1
1
1
1
1
1
1
1
1
1
1
1
1
1
1
1
1
1
1
1
1
1
1
1
1
1
1
1
1
1
1
1
1
1
1
1
1
1
1
1
1
1
1
1
1
1
1
1
1
1
5
1
1
1
1
1
1
1
1
5
1
1
1
1
1
1
1
1
1
1
1
1
1
1
1
1
1
1
1
Malachite:
Cerulean:
Melee Weapon ATK
Melee Weapon Chill ATK
Melee Weapon Chill ATK
Melee Weapon Critical Hit Rate
Melee Weapon Critical Hit Damage
Melee Weapon Critical Hit Rate
Melee Weapon Critical Hit Damage
Melee Weapon Chill ATK
Melee Weapon ATK
Max HP
DEF
Max HP
Fire Resistance
Max HP
DEF
Chill Resistance
Consumable Drop Rate Increase Modifier
Max HP
DEF
DEF
Electric Resistance
Max HP
DEF
Max Shield
Toxin Resistance
1
1
1
1
1
1
1
1
1
1
1
1
1
1
1
1
1
1
1
5
1
1
1
1
1
1
1
1
5
1
1
1
1
1
1
1
1
1
1
1
1
1
1
1
1
1
1
1
1
1
1
1
1
1
1
1
1
1
1
1
1
1
1
1
1
1
1
1
1
1
1
1
1
1
1
1
1
1
1
1
1
1
1
1
1
1
1
1
1
1
1
1
1
1
1
1
5
1
1
1
1
1
1
1
1
1
1
1
1
5
1
1
1
1
1
1
1
1
1
1
1
1
1
1
1
1
1
1
1
1
1
1
1
1
1
1
1
1
1
1
1
1
1
1
1
1
1
1
1
1
1
1
1
1
1
1
1
1
1
1
1
1
1
1
1
1
1
1
1
1
1
1
1
1
1
1
1
5
1
1
1
1
1
1
1
1
5
1
1
1
1
1
1
1
1
1
1
1
1
1
1
1
1
1
1
1
Malachite:
Cerulean:
Spam her 1 and 2 for movement and damage. Use her 3 to group enemies, then hit the ball twice for AoE. Use her 4 against tougher enemies.
Bio Expansion/Spear and Shield can be used if you don't want to proc Hyperfocus.
Use her 1 to build Charge, then use her 3 followed by her 2. Use your 4, then spam 1 and 3 until the cooldowns on 2 and 4 are over. Repeat until the boss is dead.
Power Beyond can be replaced with Ice Breaker if you take too long to kill a Colossus, but with Dia, chances are it'll die in seconds.
The only difference between the two is that we don't need Range on the Bossing build. The Reactor is also different, but you can use CHD/CDR for both.
The most important stat on the Ancestor Module is CHC. Dia needs 400% total CHC to reach the cap when not using a melee weapon.
You can replace Chill Integration with Front Lines and/or Hyperfocus/Spear and Shield with Emergency Measures to reach it, or use them if you don't have an Ancestor Module at all.
Hypernova can be used to proc Hyperfocus by throwing it. It even rhymes.